
I thought I'd take a post to show you the slipcover.
Remember my table cloth? Yep, I slip-covered a chair in painters drop clothes and a tablecloth.
You've seen me use these on the dining chairs and the Nanny chairs. They are so handy, durable and cheap.
I use the 9'x12' Lowes brand.
One of my favorite things about these is the straight lines. Instead of trying to cut a straight line, I can just cut a 1 inch starter and then tear it the rest of the way. This is such a time saver.
I usually start with the seat cushion. That's just a preference. I cut one side and then instead of measuring from the cushion from the other side, I just copy the first one. That way if I'm off a little, I'm off the same way on both and it's easier to fix.

After the seat, I move on to the base of the chair. I do the seat and front apron together.

I'm okay with piecing together the fabric in order to make the most of what i have. I don't mind a couple extra seams like the one here.


Then I work my way up. I cut enough fabric for both arm fronts. Same thing as the top and bottom of the seat cushion. I measure only one and cut both from that measurement. Then I move on the arm itself.

Here's what it looks like pinned together. On a piece like this, I use LOTS of pins. Of course, when you'r looking at it from this view, this will be the inside of the slipcover. You pin and sew on the inside and then turn it right side out to check up as you go.
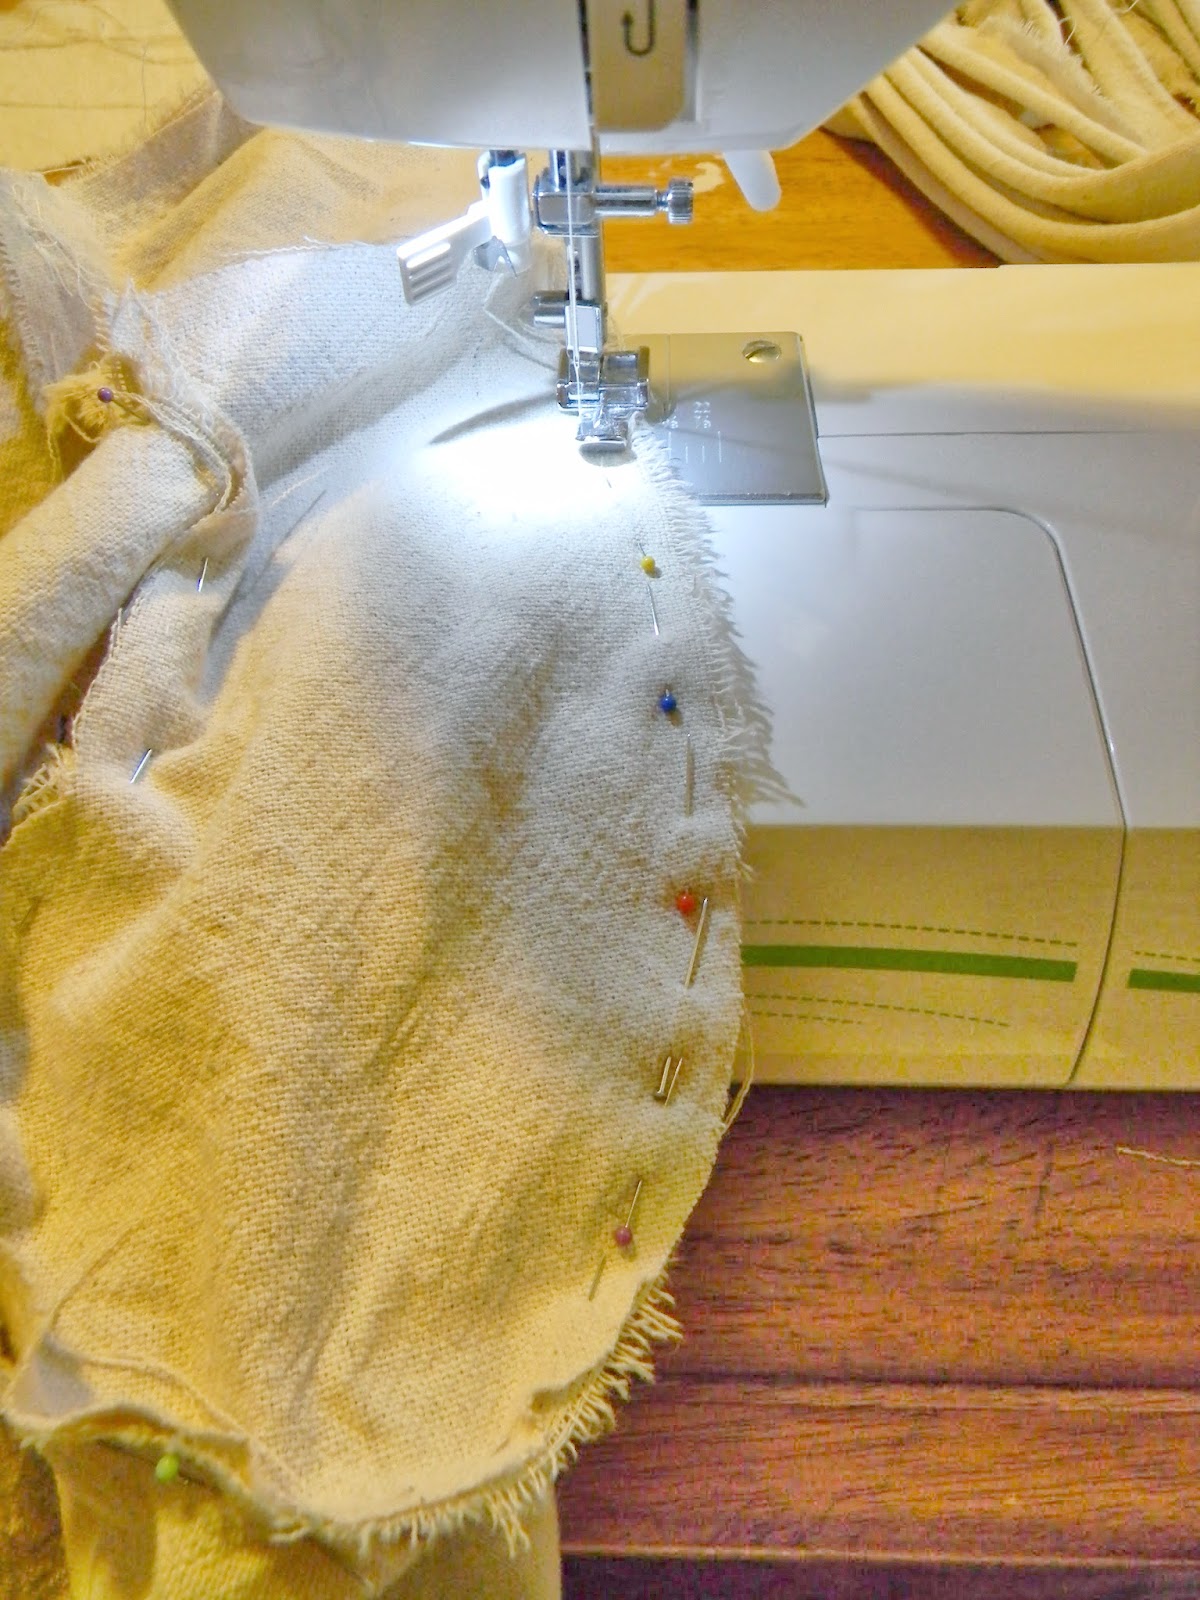
Just sew along the edge. Note: you will get poked at some point. Ok, I get poked at some point while I'm doing this.

As I go, I make sure to put it back on in the right direction just to make sure I'm on track. It's easier to take a few extra minutes to check along the way than it is to get to the end and have to rip out seams. I know from experience!

Make sure that you flip it back to wrong side out before you start pinning again.
Just work your way up the chair.


On to the back...here's where I use the sewn/hemmed edges of the drop clothes to my advantage. I cut off the corners first to make sure i don't accidentally use them anywhere else. I pin them to the front piece and overlap them. I do NOT sew up the back. This will allow me plenty of room to get the slipcover on the chair when it's completely finished.
On the left: Before sewing. On the right: After sewing

This is the back side of the ruffle. It's always last. I cut a strip of fabric DOUBLE the size of the edge I want to cover. I usually have a small piece left over, but better too much than not enough. I just pull the fabric together every few inches and keep sewing. They aren't perfect, but no one usually notices.

See what's in the seat? Yep it's the edging that I didn't use. I made it and then started without it. Oops. No worries, I'm sure I'll use it on another project and the chair looks pretty good as is.

There you have it! If you'd like a video tutorial there are several good ones on youtube. It's definitely not a sewing project to start with. I started sewing about 25 years ago in Home Ec class and I'm still learning. The important thing is to try new projects when you're comfortable with the simpler. Don't be afraid to dive right in. If you're worried about the outcome, start with cheap fabric and something you aren't
afraid of messing up.
Messing up will happen at some point. We've all had that project that we wish we never would have started.
Just keep at it. It's always worth it, even when the lesson is what NOT to do.
1 comment:
Impressive!!!
Post a Comment